Amze Emmons
Cutting 300 prints? Cue the laser cutter!
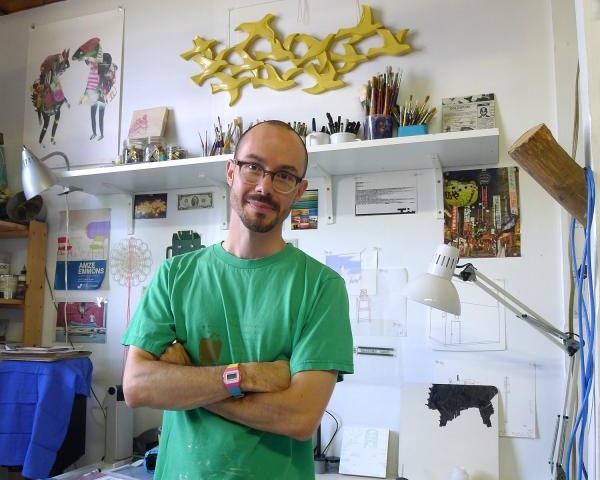
Amze Emmons in his Philadelphia studio. Photo credit: Amze Emmons
When Amze Emmons received a commission from The Print Club of New York to create their annual Presentation Print for their members he asked if I was up for laser cutting up to 300 prints.
My answer was of course, YES!
For this ambitious 10-color silkscreen, Amze collaborated with three printmakers: David Love, who helped with the original proof; Luther Davis of BRT Printshop for the printing of the edition; and me for the laser-cutting. One of the things I admire most about Amze is how he uses these kinds of projects to engage and support other artists.

Original sketch (detail)

Silkscreen with pin registration after laser cutting
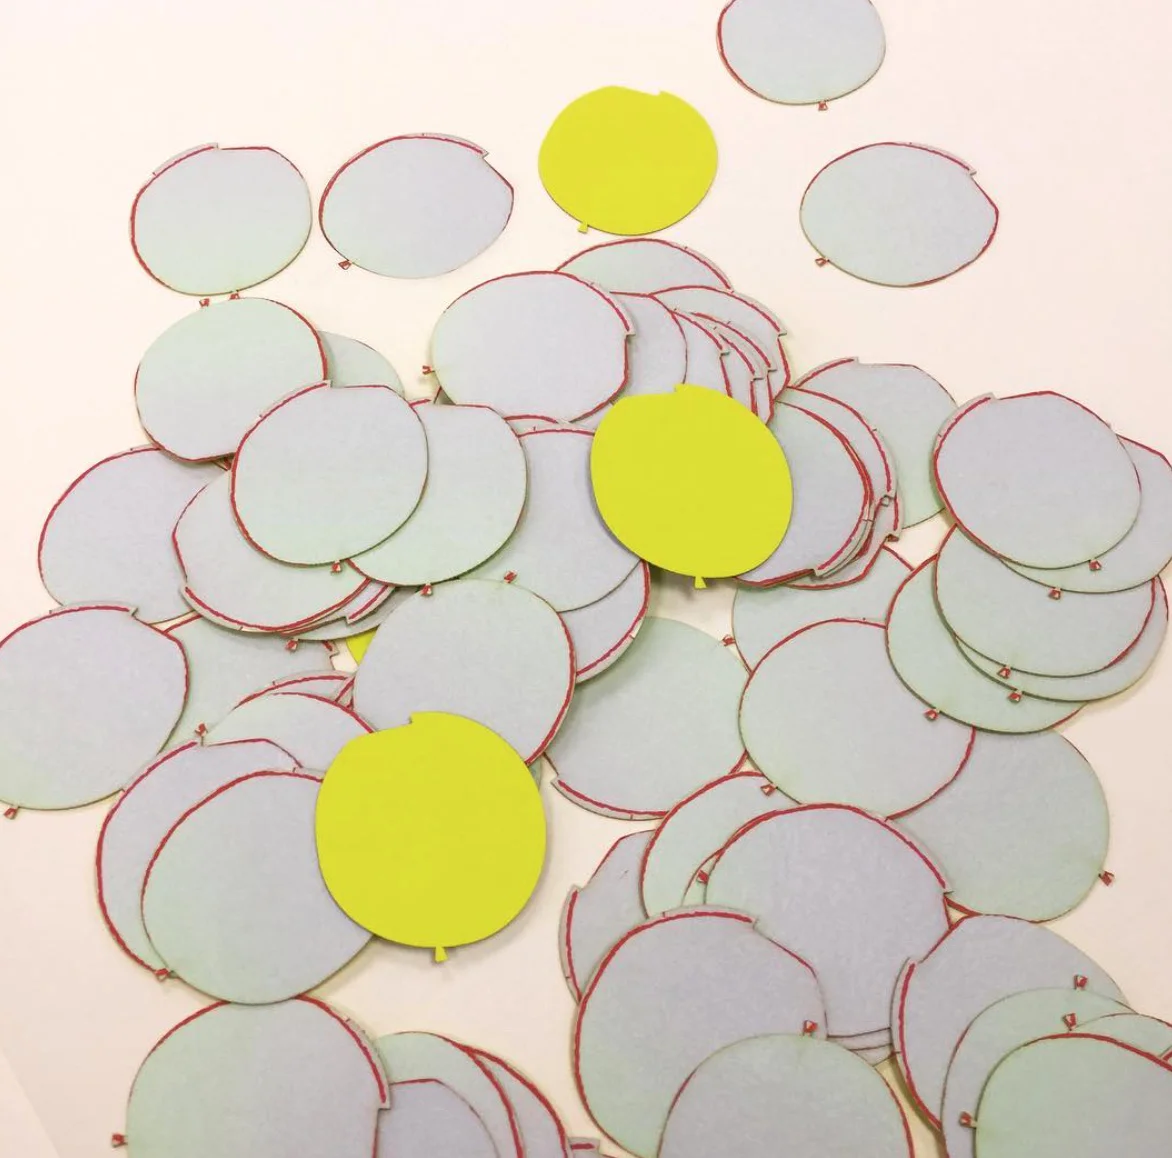
Step 1: Testing
During the material testing phase I needed to find the lowest possible setting that would cut through the paper without creating a burn mark.
Burn marks on paper have two main causes: composition of the paper and settings that are too high. Contrary to what most people think burn marks on paper can usually be avoided or minimised by taking time to find a laser cutting setting that optimal for that specific type of paper. This is why I always test and never use generic settings.
Of course there are some papers that because of their ingredients will react to the laser and burn no matter what the setting. Another reason to test. There is just no way to know how a material will react to the heat of the laser without taking the time to test.
Step 2: Setup
Precise registration was a very important part of this project. I work with a variety of registration methods, depending on the type of material and specifics of the project.
For this project we used pin registration, which is a common method in printmaking. A hole puncher is used to create holes along the edge of the print. When the print is correctly lined up on the laser cutter bed metal, “pins” the size of the holes are inserted and secured underneath. In this way, every print can be laid down in the same exact place as the one before.
While pin registration is incredibly accurate, I found I did need to make adjustments along the way. Printing—even that done by machine—has a certain level of “inaccuracy” that's often imperceptible until exposed by another process, such as laser cutting. It's a good reminder that perfection is elusive.
Step 3: Production
Once the testing was completed, the machine set up and workflow streamlined, production was relatively straight forward. The rhythm of the project—place the paper, close the lid, click the button, watch it cut, lift the lid, remove the print, sweep away the pieces, start again—reminded me of working on a printing press.

Look closely at this print. You can see how Amze created a "glowing" effect behind the laser-cut skyline and balloon, an effect created by silkscreening neon ink on the back of the print so that the reflective light casts a glow.
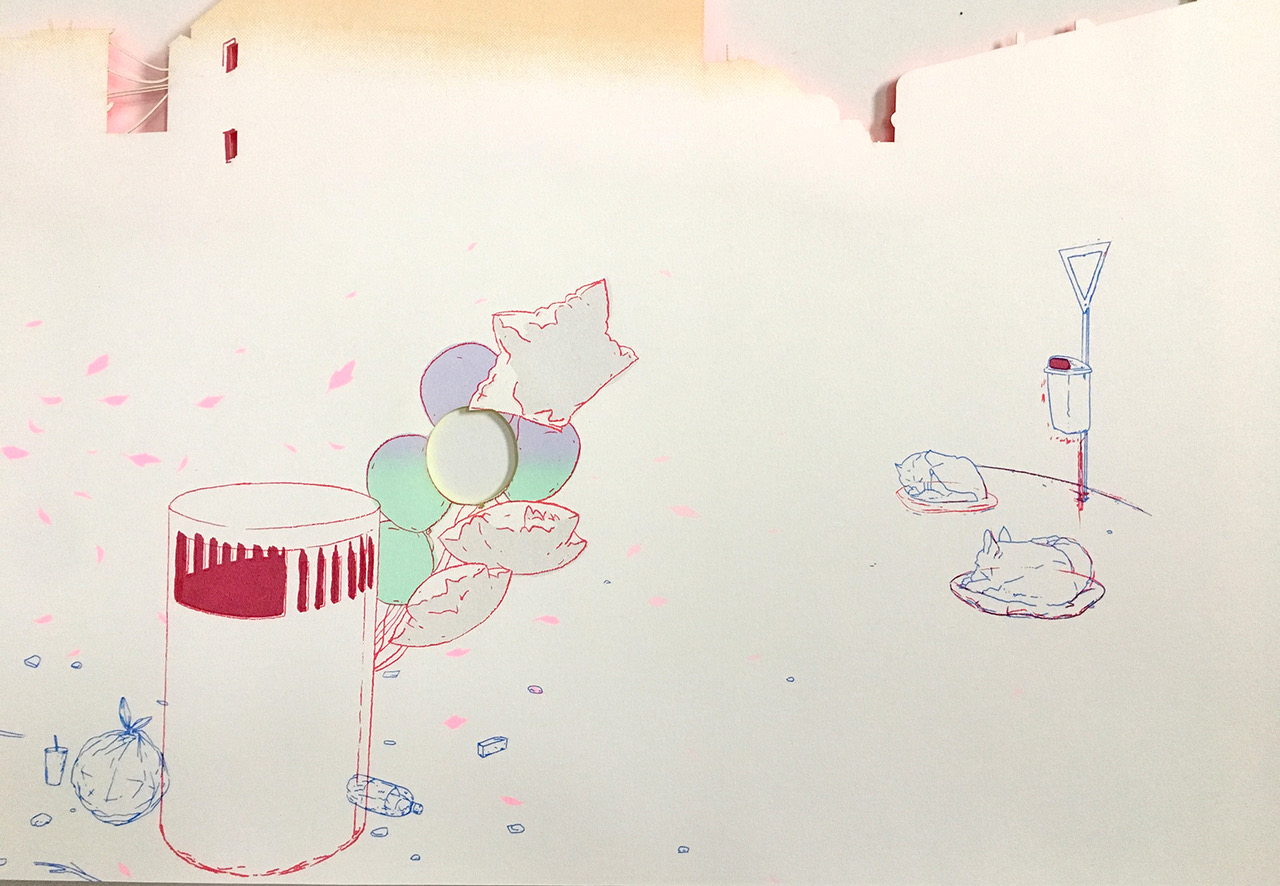
For this print, Amze drew inspiration from a trip to Chile where locals make sweaters and beds for street dogs.