Vapor Printing

Carrie Scanga, SANCTUARY *
Vapor printing: what is it and how is it done?
In a recent post I shared with you Carrie Scanga's latest installation, SANCTUARY. If you missed it you can read "How air becomes water" here.
Carrie's installation consists of 76 11-foot panels that were laser cut using a technique I developed called vapor printing. Through the laser cutting process, pigment is transferred from a painted board to the vellum, creating a ghostly halo of color around the cut edge.
In this post I share with you the technique of vapor printing and how I cut 11-foot panels on a laser cutter bed that is only 32" long.
Vapor printing – Birth of a technique
Vapor printing was born out of a "how did I do that?" moment. I had an old sample of laser cut vellum with a "burn" mark around the edge of the cut that a client fell in love with, but I couldn't seem to reproduce it. Racking my brain, I thought back. What was I doing differently?
The magic was the substrate. I had cut the original sample on a piece of MDF. When the laser cut through the vellum, it cut into the MDF. The "burn" mark was really vapor residue released by the sheet of MDF.
Of course, I didn't stop there. The next question was, "can I change the color of the residue by changing the substrate"? A variety of tests followed, including trying plywood, painting a board with acrylic paint, and using Japanese paper instead of vellum.


Smokey effect. Artist: Naoe Suzuki **
How To
1) Materials and Preparing Substrate
Smoky effect: MDF, ply-wood, wood, dense cardboard, binder's board
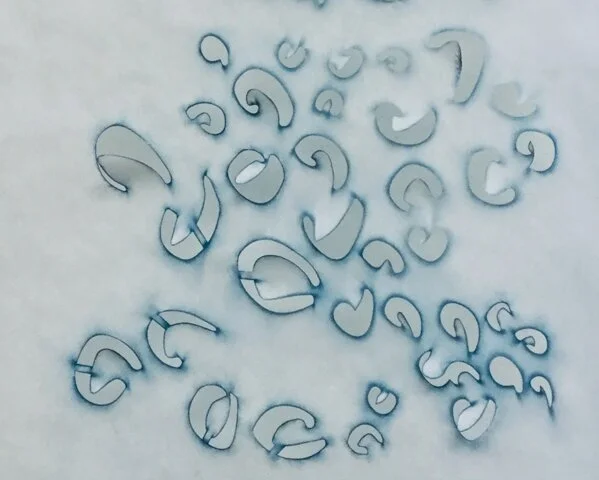
Color effect. Artist: Carrie Scanga
Color effect: acrylic paint. Paint a board (MDF, ply-wood, or cardboard. Don't use matboard) with 4-6 thick layers of paint. House paint works great and is inexpensive. Tubed acrylic also works. Gouache and watercolor can work if the paint layer is thick enough. Paint both sides of the board to reduce warping. This also creates two working surfaces.
Multi colors: to create a more complex color, thickly paint one color over another. For example, magenta painted over teal will create a warm purplish vapor print. You can also paint the board with multiple colors, creating a vapor print that is, for example, red in one area and blue in another.
Vellum: Canson Vidalon Vellum is my go-to choice, though other vellums and tracing papers also work. Thin Japanese paper works, but the effect is not as strong.
2) Laser Cutter Set Up
Place vellum over the substrate. Weigh down the edges of the vellum with metal bars or rulers. This helps trap the vapor and forces it to escape out the cut area instead of around the edges of the paper.
3) Laser Cut
You will need to do some tests to figure out the optimal setting for your laser cutter and material. In general the setting needs to be high to be able to cut into the board and release enough vapor. On my Universal VLS 6.60 I use a power of 80 and speed of 60.
4) Refresh
After a while you'll notice that the vapor prints become less saturated. Simply repaint the boards with 2–3 more layers of thick paint to refresh the boards.
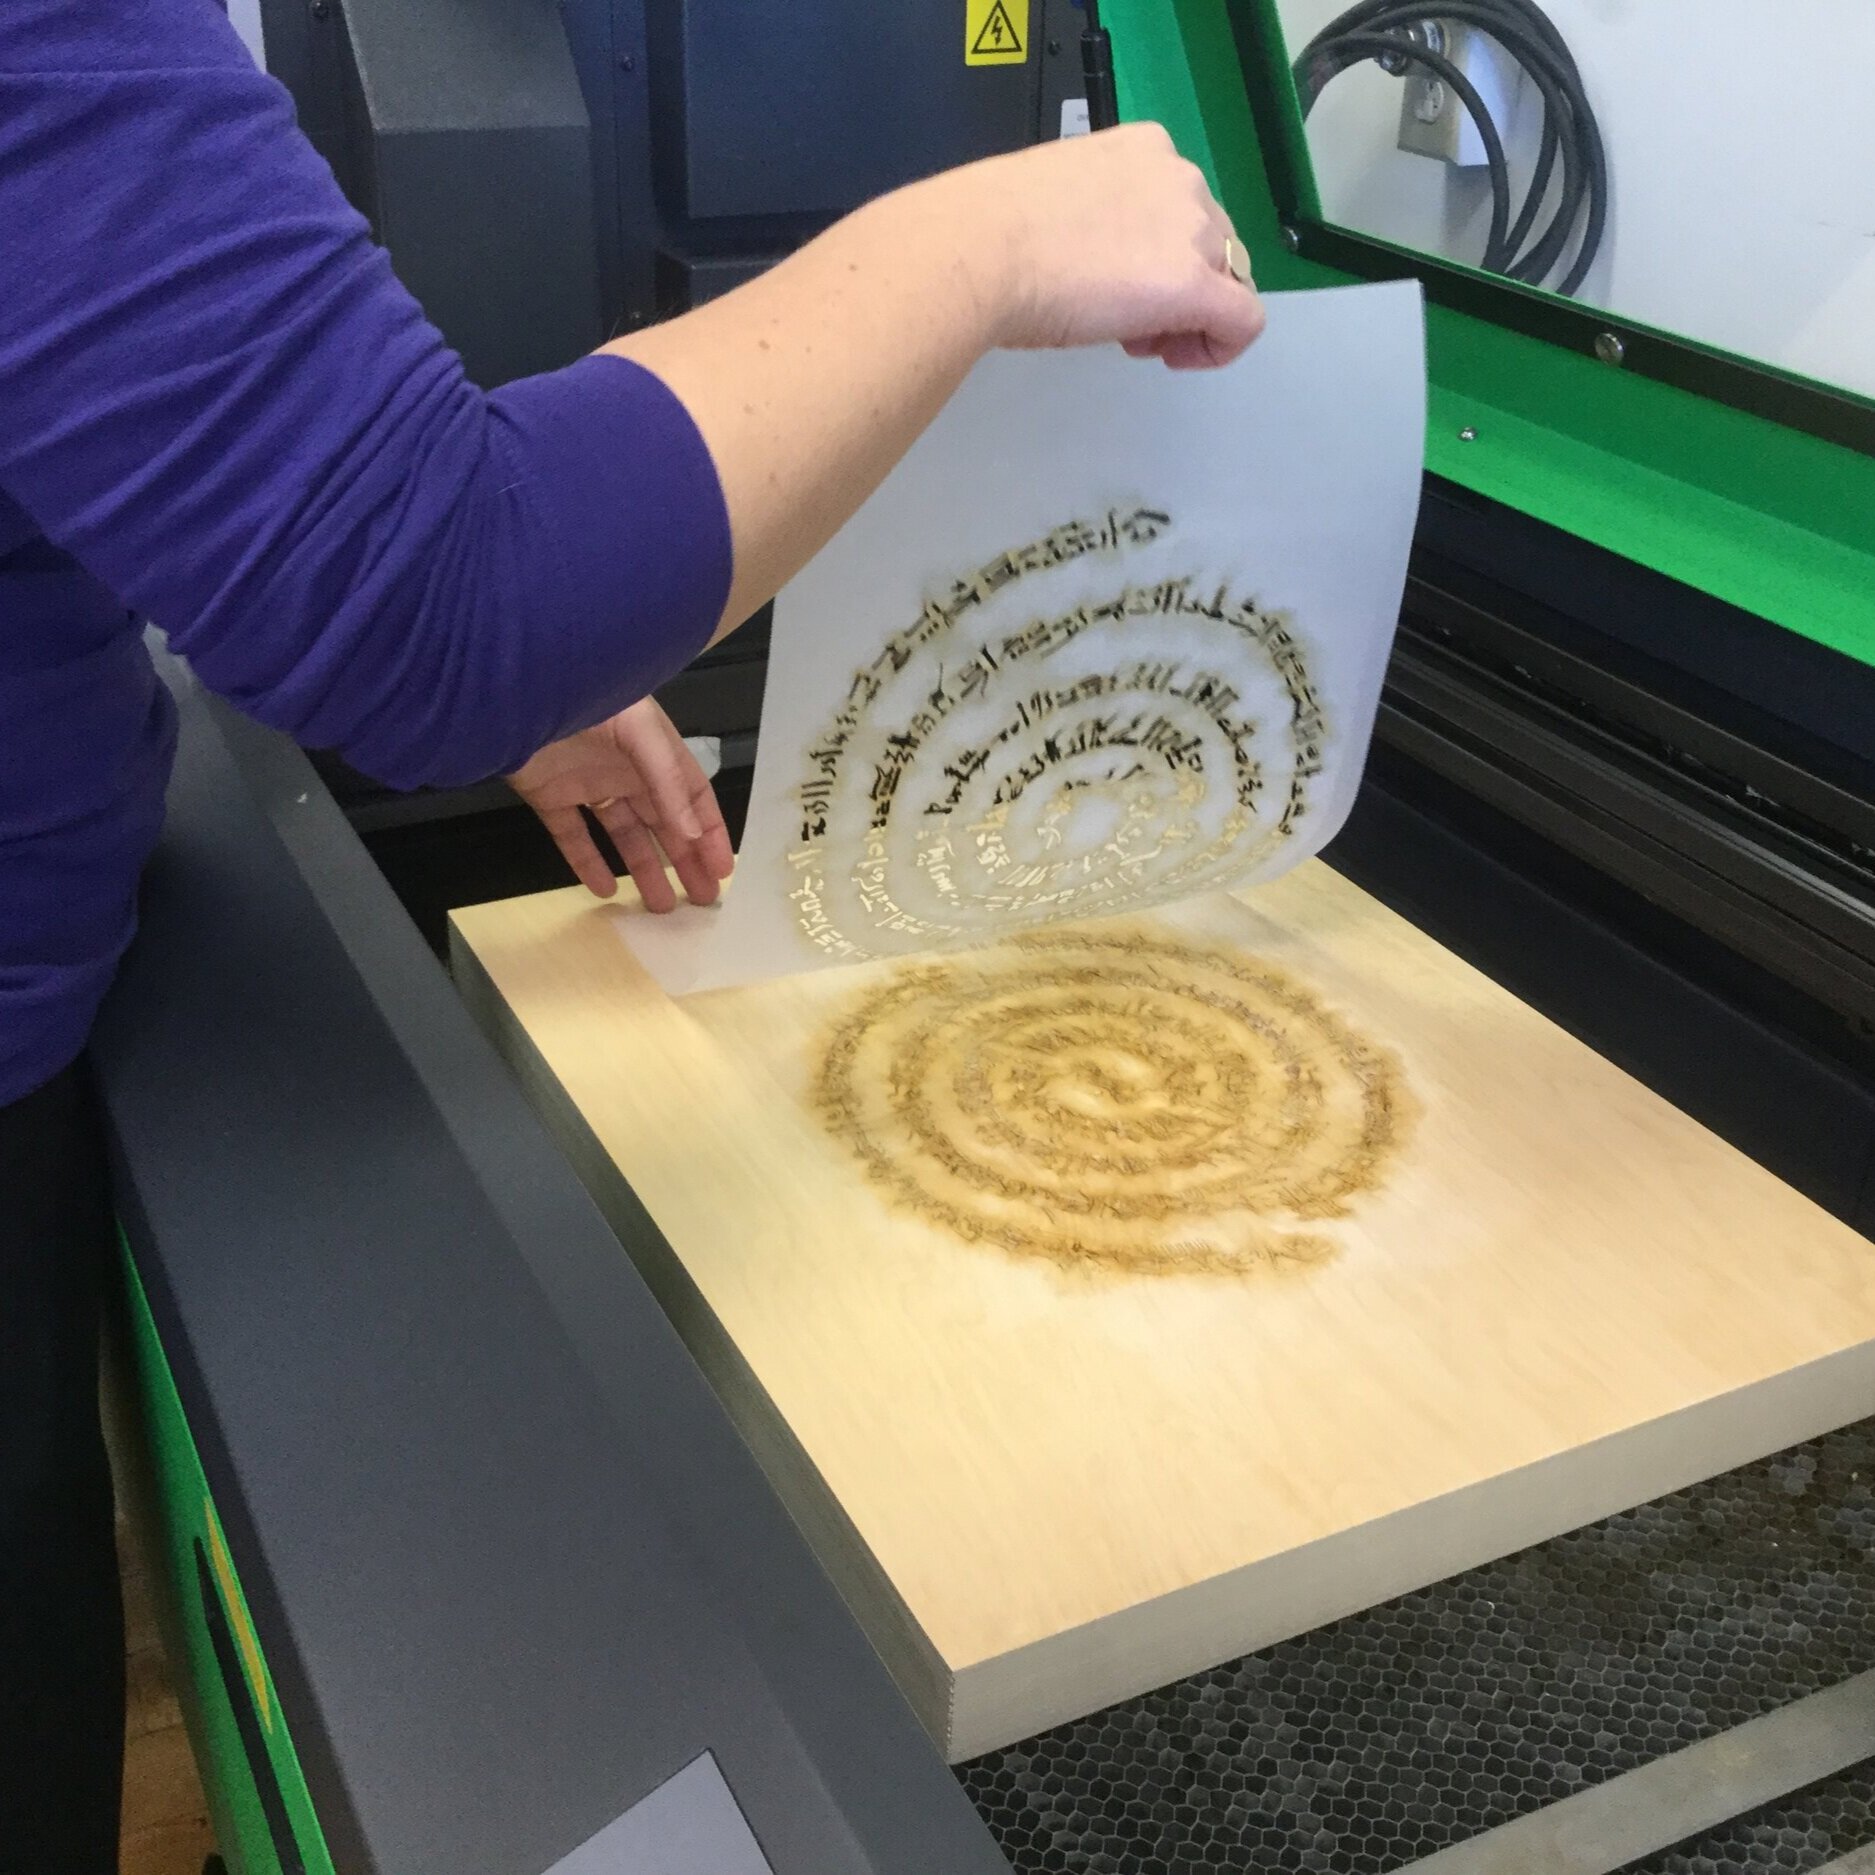
Vapor printing on raw wood. Artist: Naoe Suzuki **

Vapor printing on painted substrate. Artist: Naoe Suzuki **
Don't forget to check out important safety information at the bottom.
How do you cut an 11-foot panel on a 32" bed?
Thin materials such as vellum can be rolled into a scroll and cut in sections.
Carrie's laser-ready file was created using multiple Artboards (pages) and carefully designed to allow for wiggle room with the registration. Close but not 100% perfect registration sped up production time and helped lower the cost of the project.
Large projects like this require a fair amount of planning. Carrie spent three days in the studio with me working through ideas, testing, and cutting the first few panels. With all the details of the project worked out, I finished production over the following two months. It was a big project!
Studio sessions like this help artists develop their projects and take their ideas further.
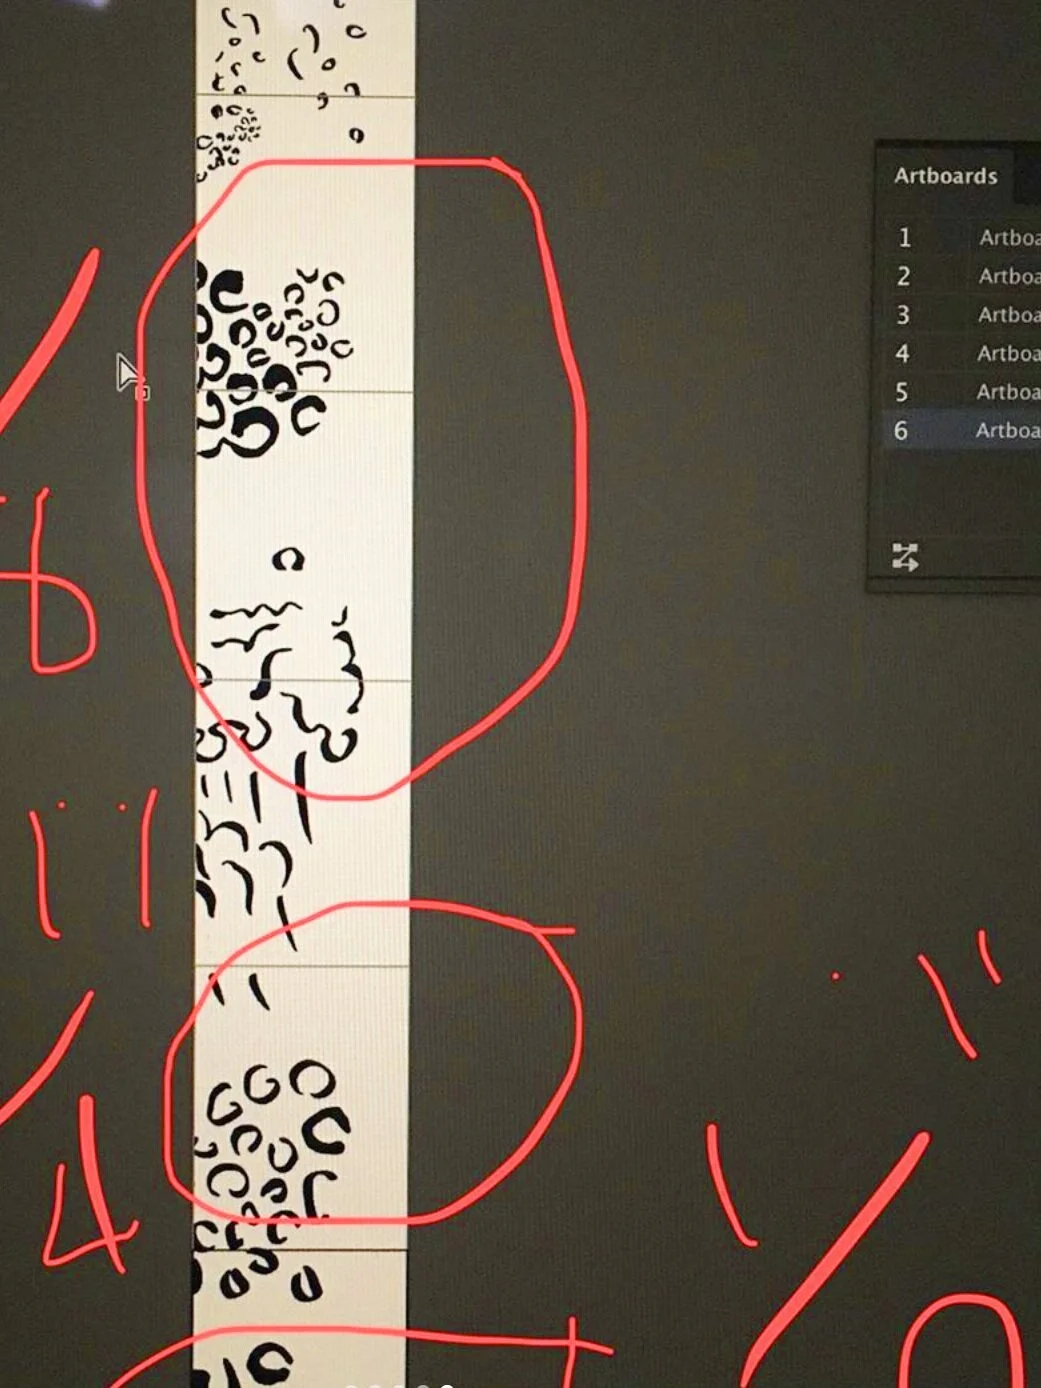
Designing panel in Illustrator using multiple Artboards *
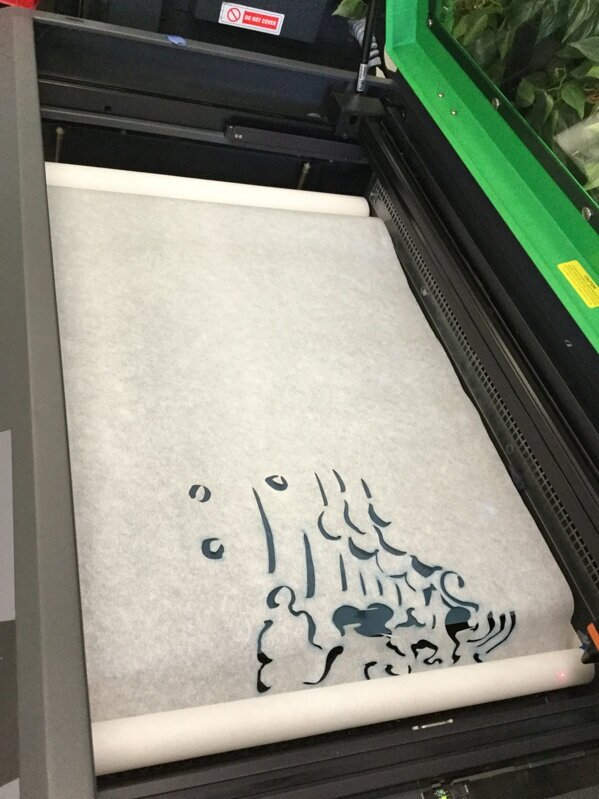
Scrolling the vellum and cutting section by section
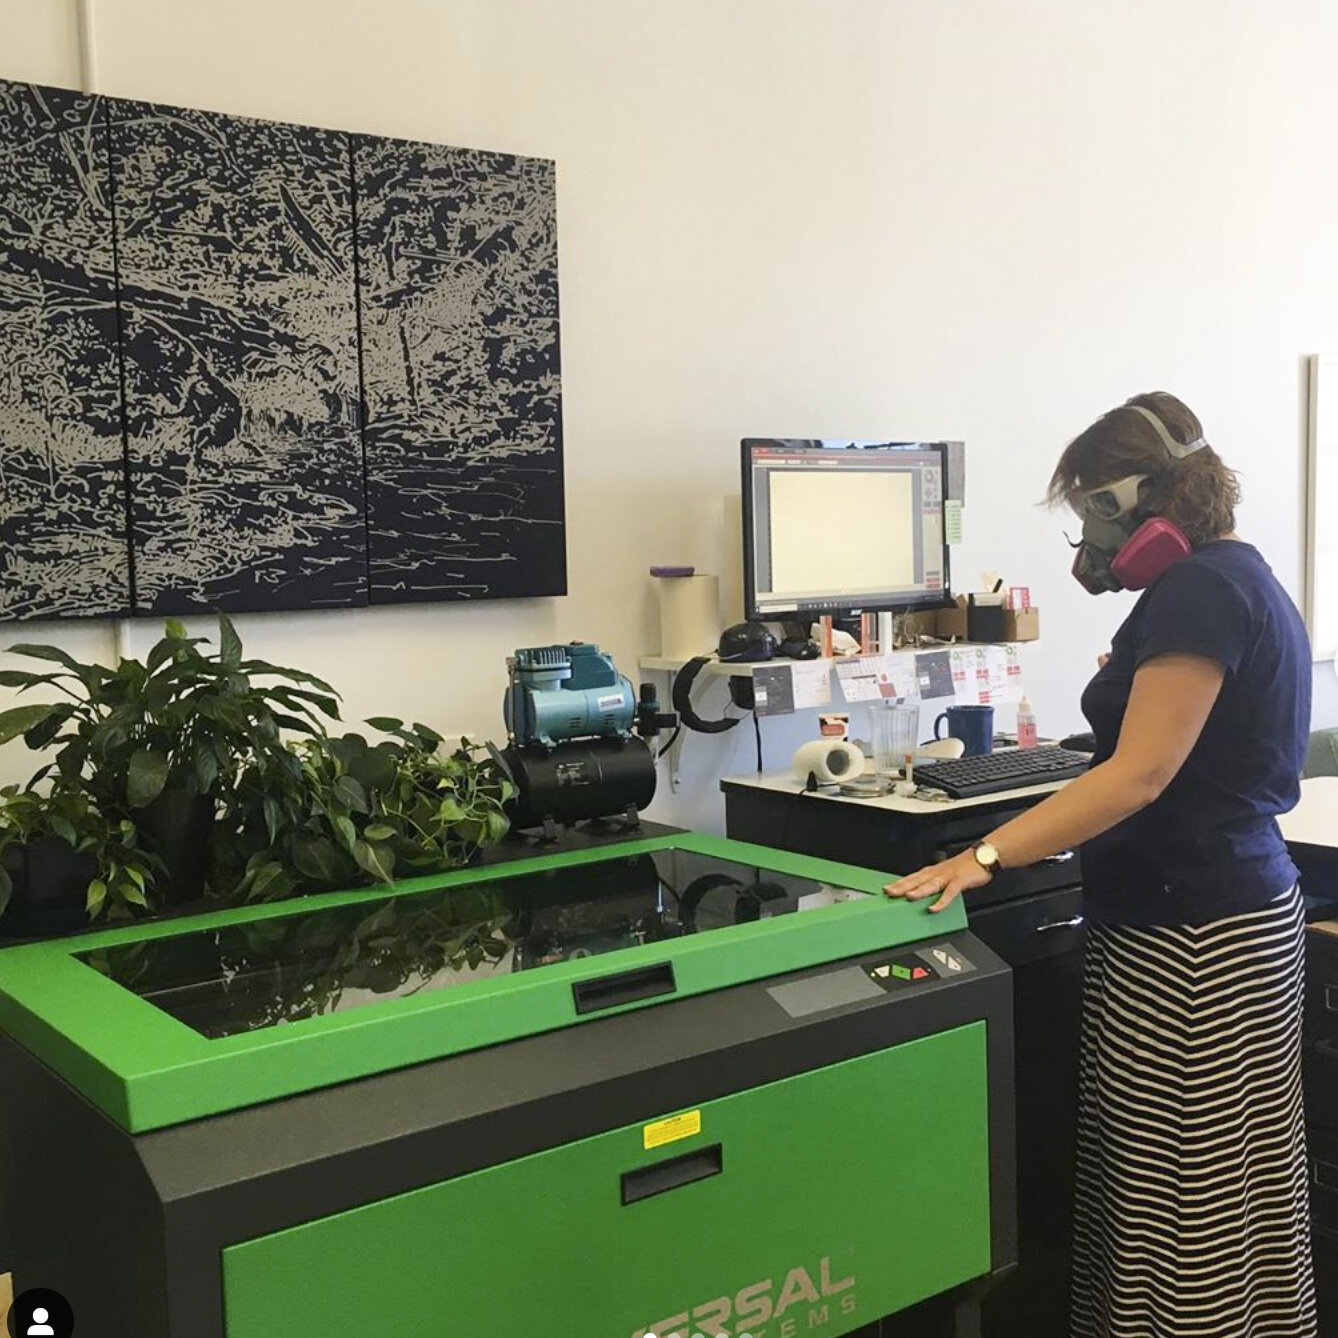
Safety first! Laser goggles and respirator *
SAFETY
Protect your lungs: vapor printing produces dust similar to sanding a painted or raw surface. Wear a respirator. I wear a multi-gas/vapor respirator which also protects against fumes resulting from vaporizing acrylic.
Never take your eyes of the laser cutter! You've probably been told that you should never step away from a running laser cutter, and this is even more important with vapor printing, especially if the cut shapes are large. When cutting light materials such as paper or vellum, cut pieces may fly across the bed. If they are hit by the laser they could ignite. This is less of an issue if the pieces are small (1/2"), but with Carrie's project the pieces were larger (2–4").
Fire safety: MIT's fab lab suggests having a sheet of acrylic nearby for smothering flare-ups, and of course having a fire extinguisher nearby is a must.
Photo Credits: * Carrie Scanga. ** Naoe Suzuki