How to laser cut paper without burning

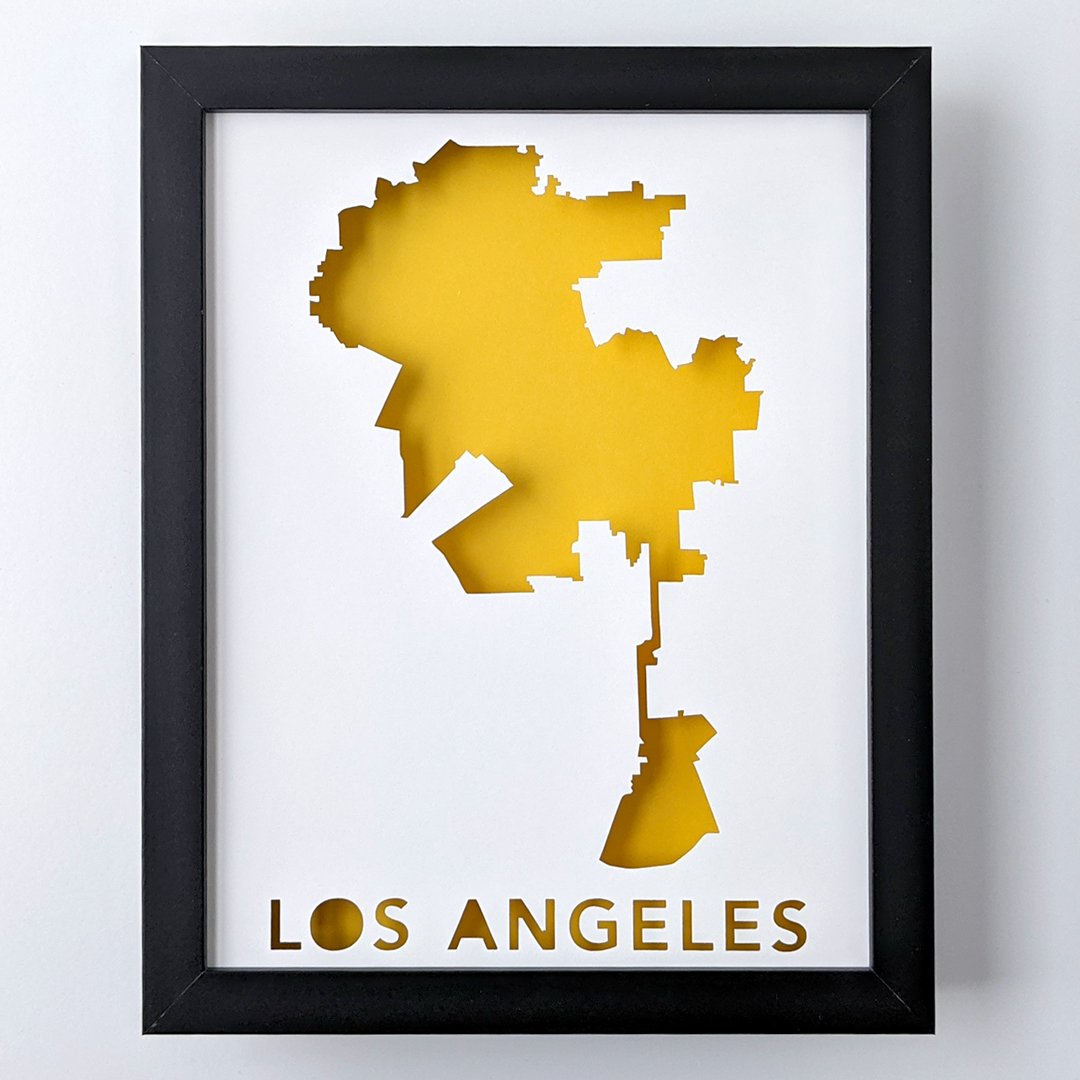
Paper cut map of Los Angeles by Abigail McMurray in a black frame. A silhouette of the city and the name in block letters are cut out of white paper and backed with a bright yellow.
In Laser Cutting Paper Designs with Abigail McMurray, I introduced the concept of “the dreaded burn.” No, don’t thank me, we needed another thing to dread, right?
But seriously, as artists, we want our work to shine through without the (annoying and distracting) discoloration of a laser burn.
We looked at the work of amazing paper-cutting artist Abigail McMurray, who uses best-of-both-worlds hand and machine techniques for creating her house portraits and Paper Place designs of more than 50 cities, towns, and islands.
Did you miss it? Read it here.
One of her concerns about laser cutting paper designs had been the discoloration or "burn" that can occur around the edge of a cut.
To avoid that, she considered either (a) buying laser cutting equipment and learning by trial and error or (b) outsourcing that detail to another meticulous artist.
To my delight, she went with (b).
Below I share one of my top tricks for how to laser cut paper without burning that I used on Abigail's project.

Diagram of a laser cutting paper. Some vaporized paper particles stick to the laser cut edge while most move towards the exhaust system.
What is burn?
What most people refer to as burn is actually vaporized paper particles that have landed on the top edge of the paper. Depending on the laser cutter setting and the type and thickness of paper, the burn or residue can range from almost invisible to a very light but noticeable cream color, all the way up to tan.

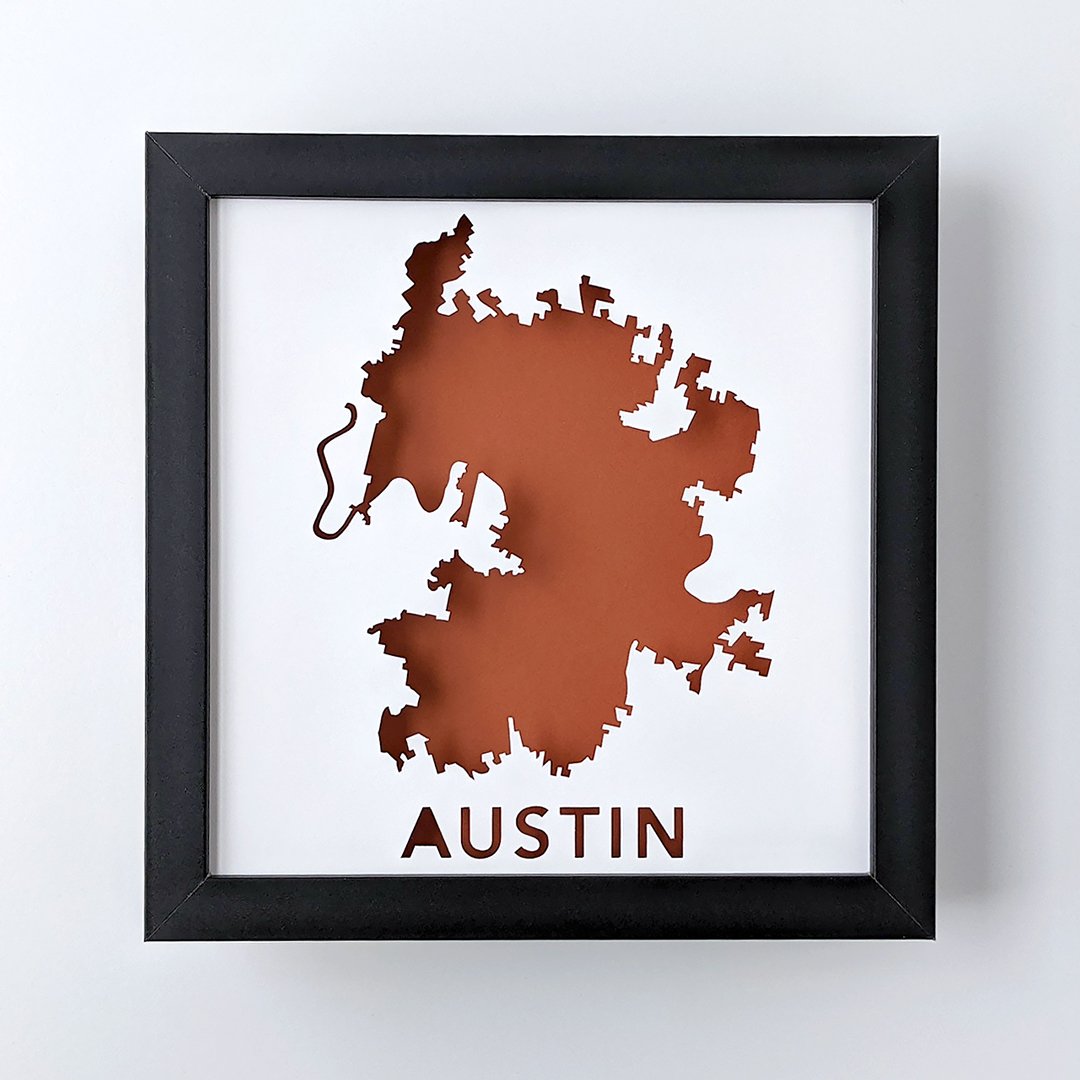
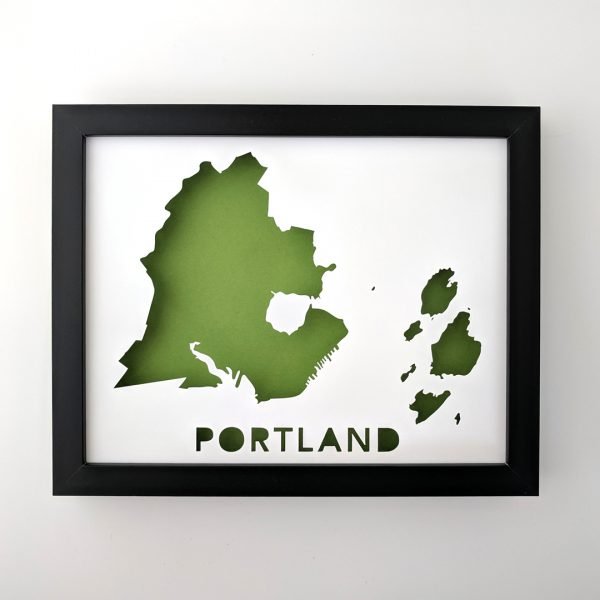
Laser cut paper maps of Austin, TX and South Portland, ME in a laser cutter. The names of the cities read backward because they are cut upside down.
#1 Tip: Cut Face Side Down
For her Paper Places, Abigail uses a white cover stock from French Paper. This paper laser cuts relatively cleanly with a discoloration that is very light. Many mere mortals wouldn't even notice it; but we are artists, and we notice even subtle shifts in the color white.
Since the discoloration occurs on the top of the paper rather than the bottom, the first trick I try is cutting the image face side down.
This trick works well for thin to medium thickness papers like cover stock.
Heavier weight papers like 300 lb watercolor paper may produce areas of discoloration on the side touching the laser cutting bed. For tips on working with thicker papers, come to my Zoom talk on June 23rd.
When cutting face down, it is important that your bed is clean. Residue on the bed can transfer to the paper when hit by the laser. I have a piece of aluminum honeycomb I use only for cutting paper.
With Abigail's images, it was easy to know when the image was cut in the correct orientation. If the text read backward everything was a-okay. If your design is more subtle and you try this method, don't forget to flip your image.
Find your Paper Place, here!

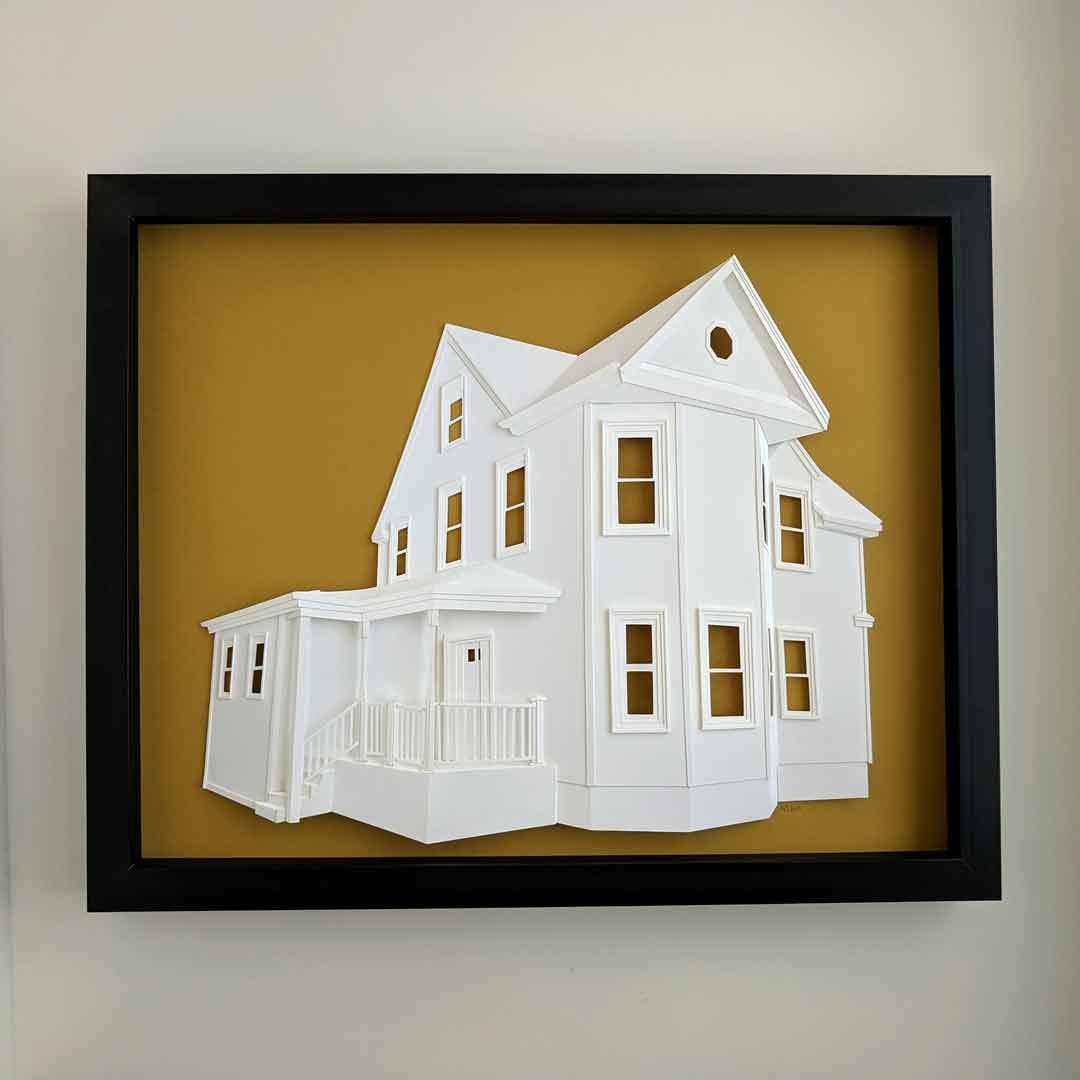
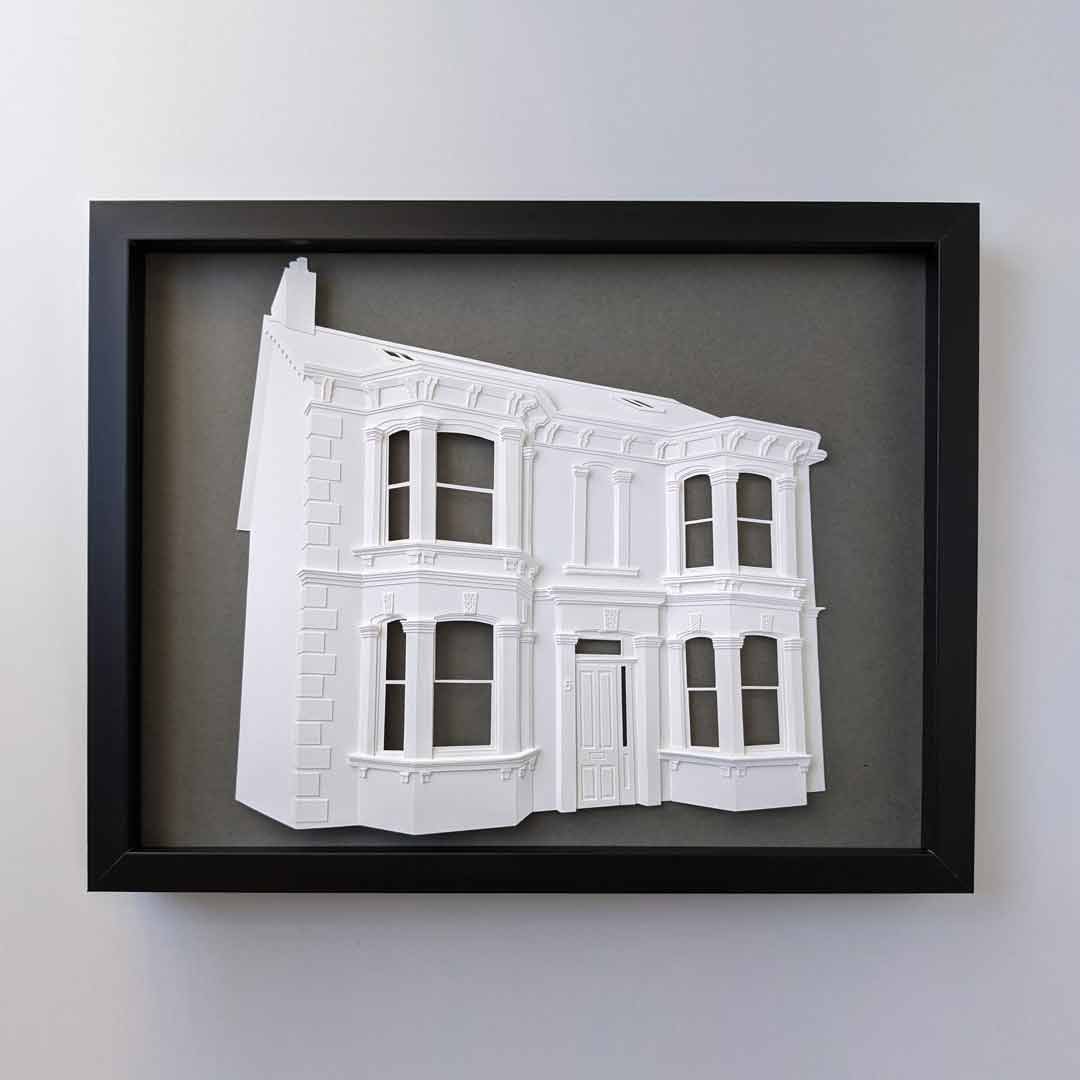
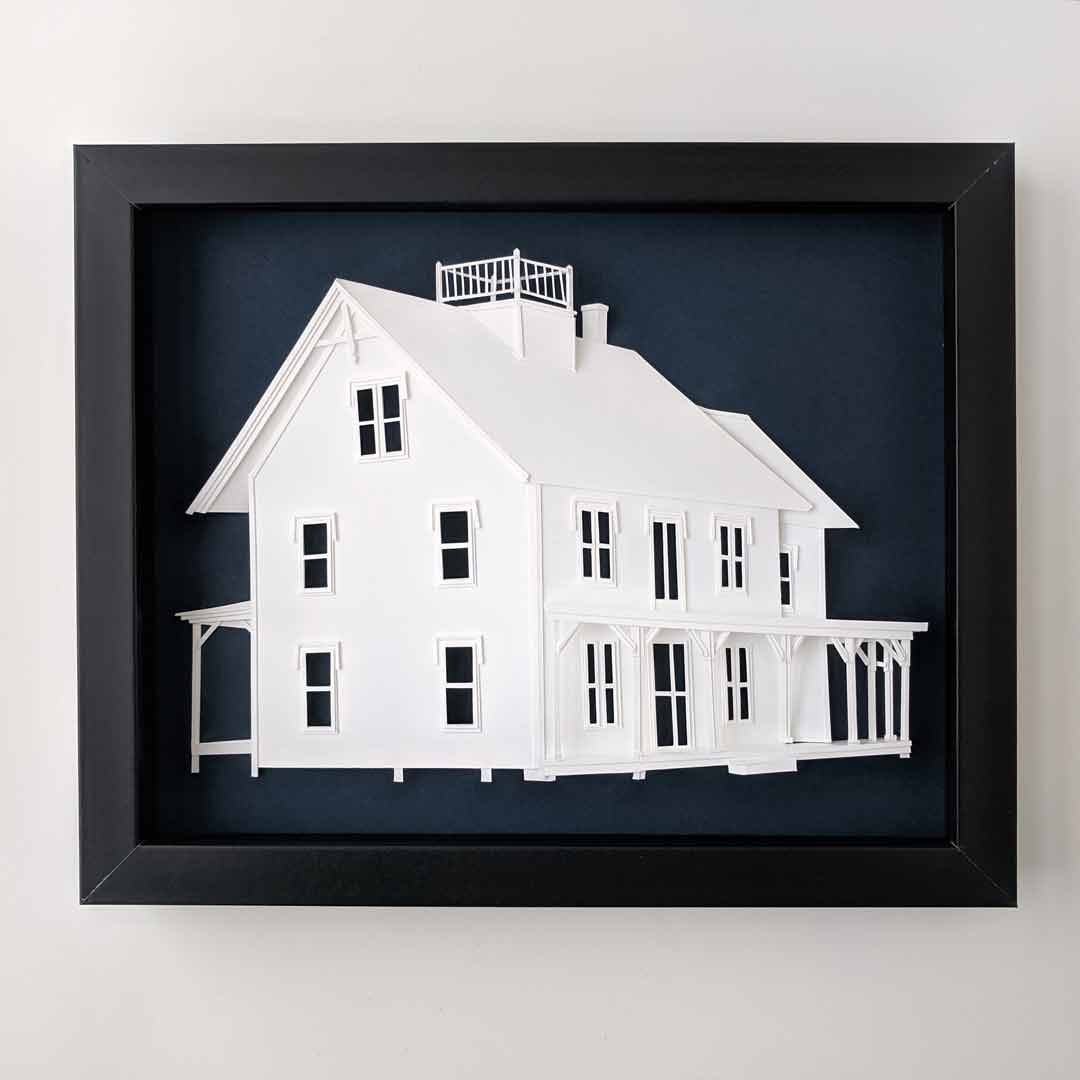
Abigail’s Custom 3D Paper House Portraits. Commission yours, here!